Garage Lighting Makeover Ideas for Car Lovers
Posted by James Ruppert | Nov 12, 2026 | Health and Safety, Lights, Strip Lights
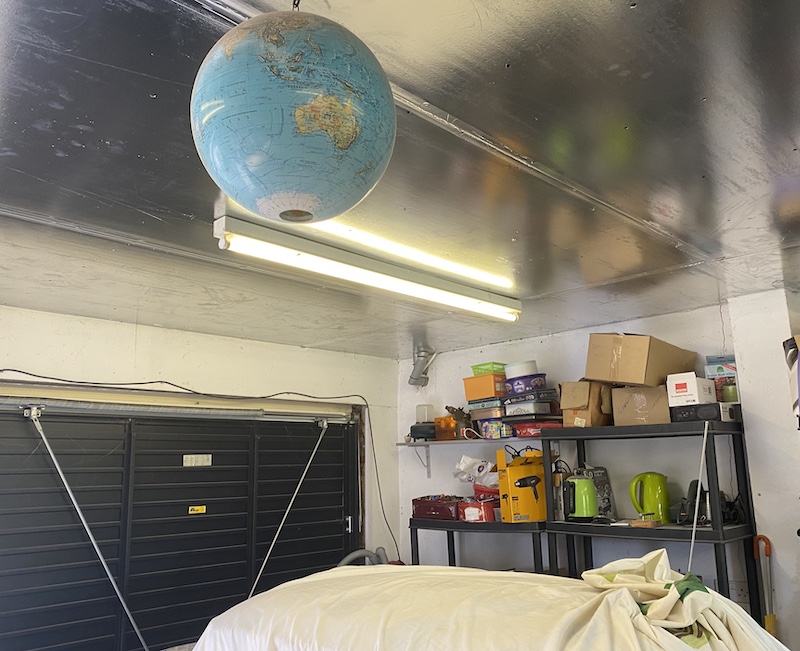
A bright garage is not enough. Your space should show off the cars you love and make every job easier. Good lighting does both.
Here is how to plan a garage lighting upgrade that works as hard as you do.
Start With a Layered Plan
Do not hang one bulb in the middle and call it done. Use three layers.
Ambient lighting fills the whole room. Think overhead LED shop lights or linear fixtures.
Task lighting covers the work zones. This includes the bench, the engine bay area, and the tool wall.
Accent lighting sets the mood. Wall washers, under-shelf strips, and signs belong here.
Each layer needs its own switch or dimmer. That way you can run full brightness for an oil change and drop to a soft glow for a late-night look at the paint.
Get the Light Levels Right
Brightness is measured in lumens. Illumination is measured in footcandles, which is one lumen spread over one square foot.
The math is simple. Multiply your floor area by your target footcandles.
A 20 by 20 foot garage has 400 square feet. At 50 footcandles, you need about 20,000 lumens. That is a solid general level for mechanical work.
Detailed work such as paint correction or wiring needs more. Aim for 200 footcandles at the bench or over the car. Use movable task lights to hit that number without flooding the whole room.
Add Character With Custom Neon Signs
Once the working light is set, add something that says who you are. Custom neon signs are a strong fit for a car garage. A brand logo, a model name, or your own shop name can anchor a wall.
Keep these points in mind:
-
Mount the sign away from fluid splashes and open solvent use.
-
Place it at eye level on a clean, plain wall.
-
Choose a color that suits your cars. Red looks great with classic muscle. Blue pairs well with modern performance builds.
-
Put the sign on its own switch.
Neon is accent lighting. It adds mood, not working light. Plan your task and ambient layers first.
Pick the Right Color Temperature and CRI
Color temperature is measured in Kelvin. Lower numbers look warm. Higher numbers look cool and blue.
For a garage, choose 4000K to 5000K. This range gives strong contrast and helps you see details on parts and fasteners.
Next, check the Color Rendering Index, or CRI. It rates how accurately a light shows true color on a scale of 1 to 100.
CRI matters for car people. You need to judge paint match, spot swirl marks, and tell wire colors apart.
Use this checklist when buying fixtures:
-
CRI of 90 or higher for the main work area
-
4000K to 5000K for general lighting
-
Consistent Kelvin ratings across all fixtures
-
Dimmable drivers where you want mood control
Do not mix batches with different color temperatures. The mismatch looks sloppy and can confuse your eye when matching paint.
Control Glare and Reflections
Glossy paint is a mirror. A bad fixture layout will give you harsh hot spots and reflected glare on every panel.
Glare comes mostly from how lights are placed, not just how bright they are. The U.S. Department of Energy explains these core lighting terms, including footcandles, CRI, and glare, in its lighting basics guide. It is worth a read before you buy fixtures.
Apply these placement rules:
-
Mount ceiling lights in rows on both sides of the car, not directly above it.
-
Use frosted lenses or diffusers to soften the output.
-
Add wall-mounted vertical lights to reduce shadows along the doors.
-
Light the ceiling and walls in a light color to bounce soft fill light.
Light-colored walls and an epoxy floor coating also help. They raise the usable light without adding more fixtures.
Plan the Power and Safety Details
Lighting is only as good as the wiring behind it. Do not overload one circuit.
Follow these basics:
-
Add a dedicated circuit for lighting if the garage shares a line with power tools.
-
Use GFCI protection for outlets in the garage.
-
Pick damp-rated fixtures if the space sees moisture or washdowns.
-
Keep LED drivers ventilated. Heat shortens their life.
-
Hire a licensed electrician for any new circuit work.
LED strips are great for under-shelf and toe-kick accents. Choose a quality strip with a proper power supply. Cheap ones fade and shift color within months.
Bring It All Together
Start with the base layer. Hit your footcandle target. Choose high CRI lighting in a consistent color temperature. Then place accents like a neon sign to add personality.
A good garage lighting plan makes the work easier and the cars look better. It also makes the room feel like yours.
Plan it in layers and build it one step at a time.