By Kiran Parmar
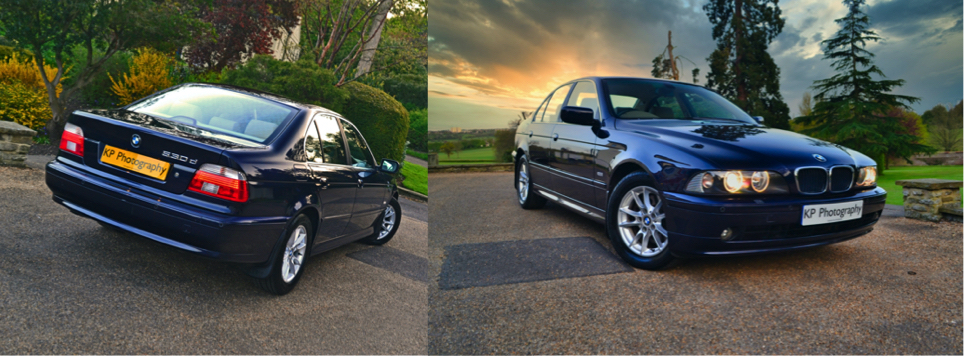
Having recently said goodbye to my faithful Mitsubishi Lancer which I kept for thirteen years; I have a new daily driver that is my dad’s 2003 BMW 530d (e39). My dad purchased it back in 2006 from BMW North Oxford Garage with only 16,000 miles on the clock and one former keeper. Overall, the car is in very good condition but as it is now coming up to eighteen years of age, it is starting to show one or two minor cosmetic issues.
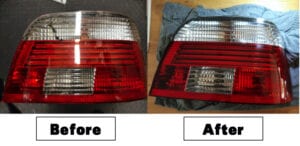
One of the issues in question was the driver’s side rear lamp cluster. The glue that holds the foam gasket at the back of the lamp had disintegrated after 18 years and the lamp was letting rainwater and algae in which had stained the inside of the lens. Even though the light was functioning and not an MOT failure, it was letting the overall appearance of the car down and I had to do something about it.
Step 1: Find a new lamp.
After a quick search on a well-known internet auction site, I found a suitable replacement lamp for the facelifted version of the ‘e39’ 5-Series. The seller was a professional automotive recycler who specialises in scrap parts. I paid £25.49 including delivery. As you can imagine, a BMW main dealership would have charged substantially more!
Step 2: Clean the lamp.
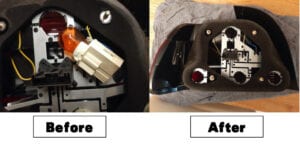
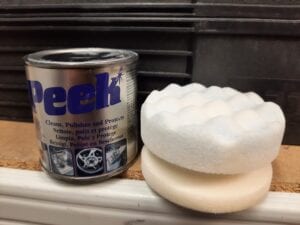
The lamp arrived promptly and on first inspection, it looked like a brand-new part. The back of the lamp cluster had some dried mud in the crevices which I cleaned with WD-40 Contact Cleaner and a toothbrush. Using an air gun attached to a compressor I blasted the inside of the lamp to blow away fine dust and cobwebs. I removed all the bulbs and replaced with brand new ones for peace of mind. You will need three ‘P21W Clear White’ bulbs and one ‘PY21W Amber’ indicator bulb per lamp cluster. Avoid the temptation to upgrade to LED bulbs as these can interfere with the BMW Can-bus system. I then removed the foam gasket and re-glued it in place using high-performance exterior grade superglue to future proof the lamp. Finally, I cleaned the lens with glass cleaner then polished it with some ‘Peek’ polish and a small waffle pad to remove fine scratches in the plastic. The lamp now sparkles like a jewel!
Step 3: Remove the old lamp.
The lamp is held on with four small 8mm metal bolts and one plastic bolt which holds the nearby plastic trim in place. You will need a basic socket set to get the job done and you can access everything just by opening the boot battery compartment. Undo all the metal bolts and the single plastic bolt and keep them in a safe place (an old ice cream tub is perfect!) On the driver’s side, the battery sits just below the lamp housing so cover it with a cloth to prevent any bolts slipping from your fingers and landing on the battery. The lamp is connected to the wiring loom with one master plug and there may be an additional spade connector which sends power to the LED matrix on the facelift version of the e39. Remove these two cables carefully and gentle pull the lamp cluster away from the body.
Step 4: Clean the housing area and fit the new lamp.
As you can imagine with any old car, there was 18 years’ worth of road dust, dried leaves, and cobwebs on the body housing where the lamp sits. Vacuum this area, then spray some multipurpose cleaner and gently scrub the area with a detailers bristle brush. Wipe the area clean with paper towels and repeat if necessary. The paintwork in this hidden area was in excellent condition and rust free. Test the new lamp works by connecting the master plug in the boot before you finally fit it to the car. Check all the bulbs work; sidelight (the LED strip), indicator, fog, brake, and reverse light bulbs. Get a friend to help you at this point. Once you are happy the new lamp cluster is fully functional, offer it up to the car and connect the master plug and spade connector then fit it to the car by aligning the four bolt threads to the body holes. Hold the lamp in place and finger-tighten the four metal bolts and the single plastic bolt. Finally tighten the bolts with your socket set. Test the bulbs one final time and the job is done.
This simple DIY job is easy to do and very satisfying. Having a new shiny lamp that gives out clean, bright light will not only ensure your car will pass its MOT, in addition you have also added value to your motor and increased its safety!

